How to Start Your Minecraft Server in HyperPanel v2
A step-by-step guide on how to start your Minecraft server in HyperPanel v2 after purchasing a plan.
Koby Pierce
09/02/2023• 3 min read
Introduction
In this guide, you will learn how to start your Minecraft server in HyperPanel v2 after successfully paying for your server.
- Check your registered email inbox for an email containing your server details and HyperPanel login information.
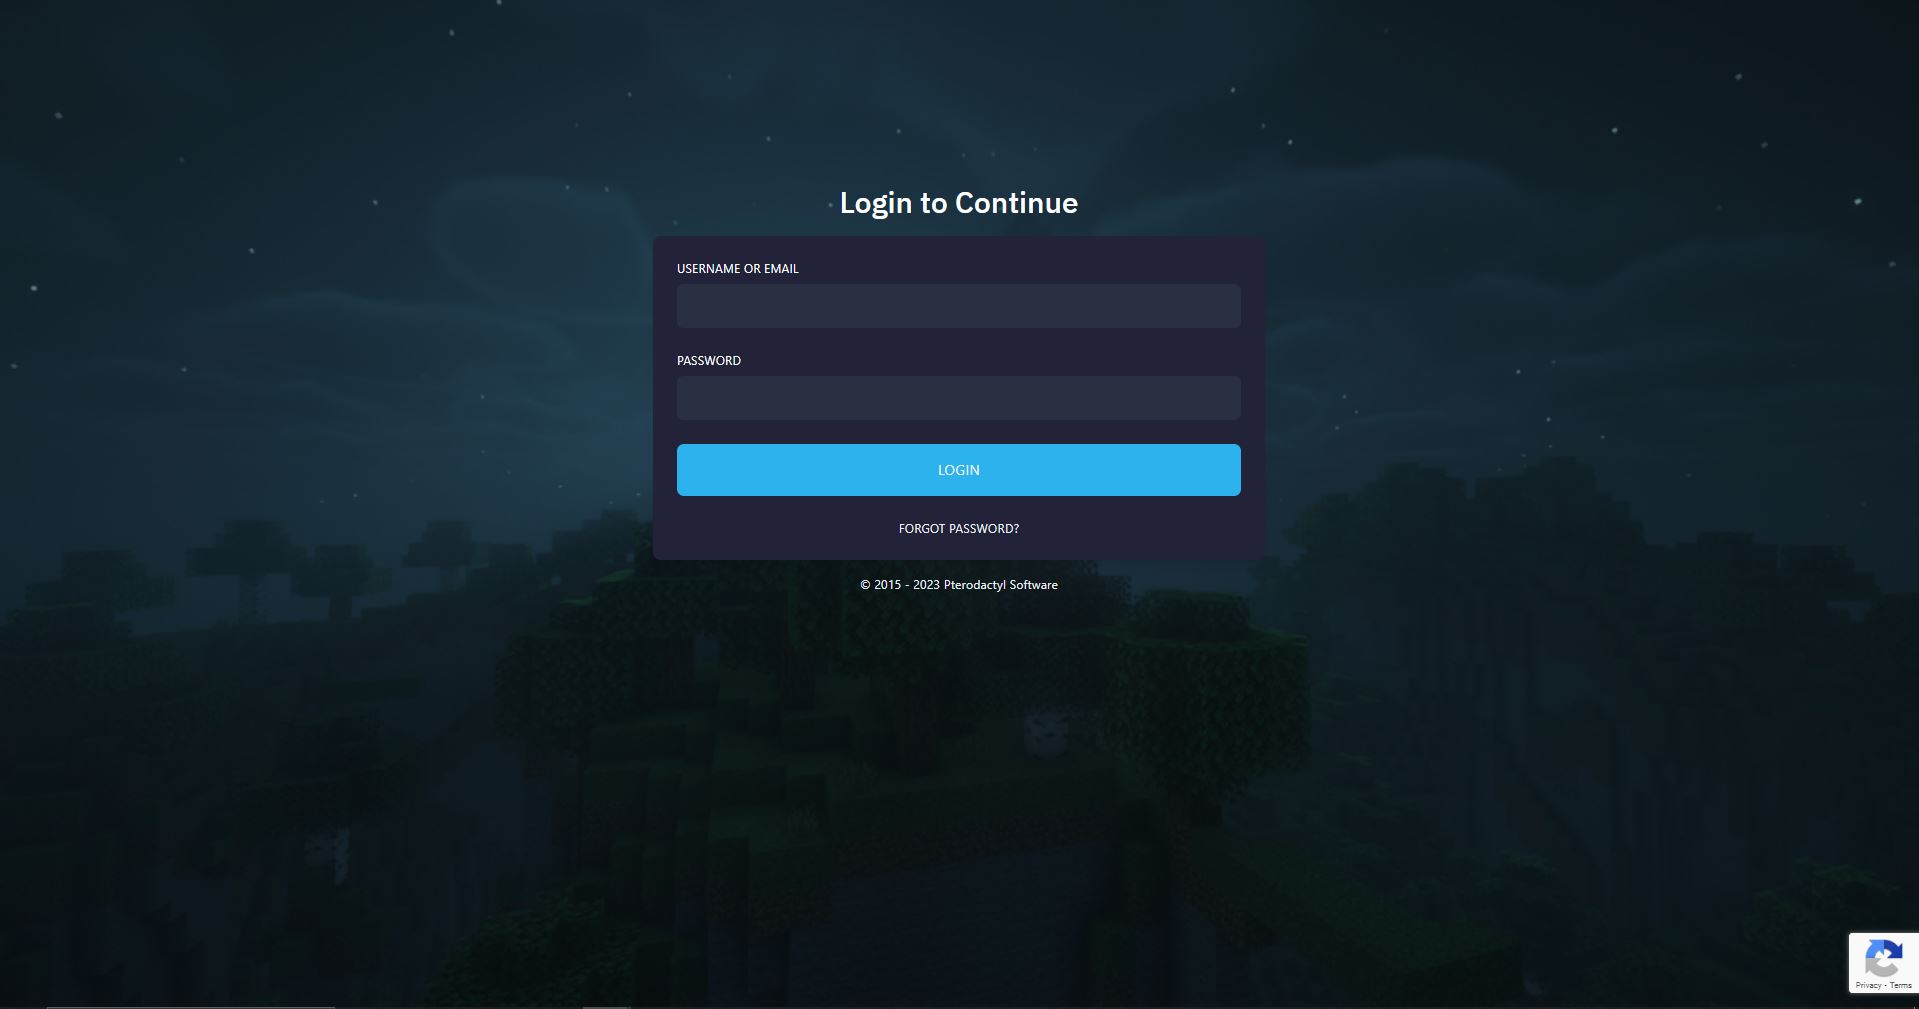
- Sign in to HyperPanel to access all controls of your server.
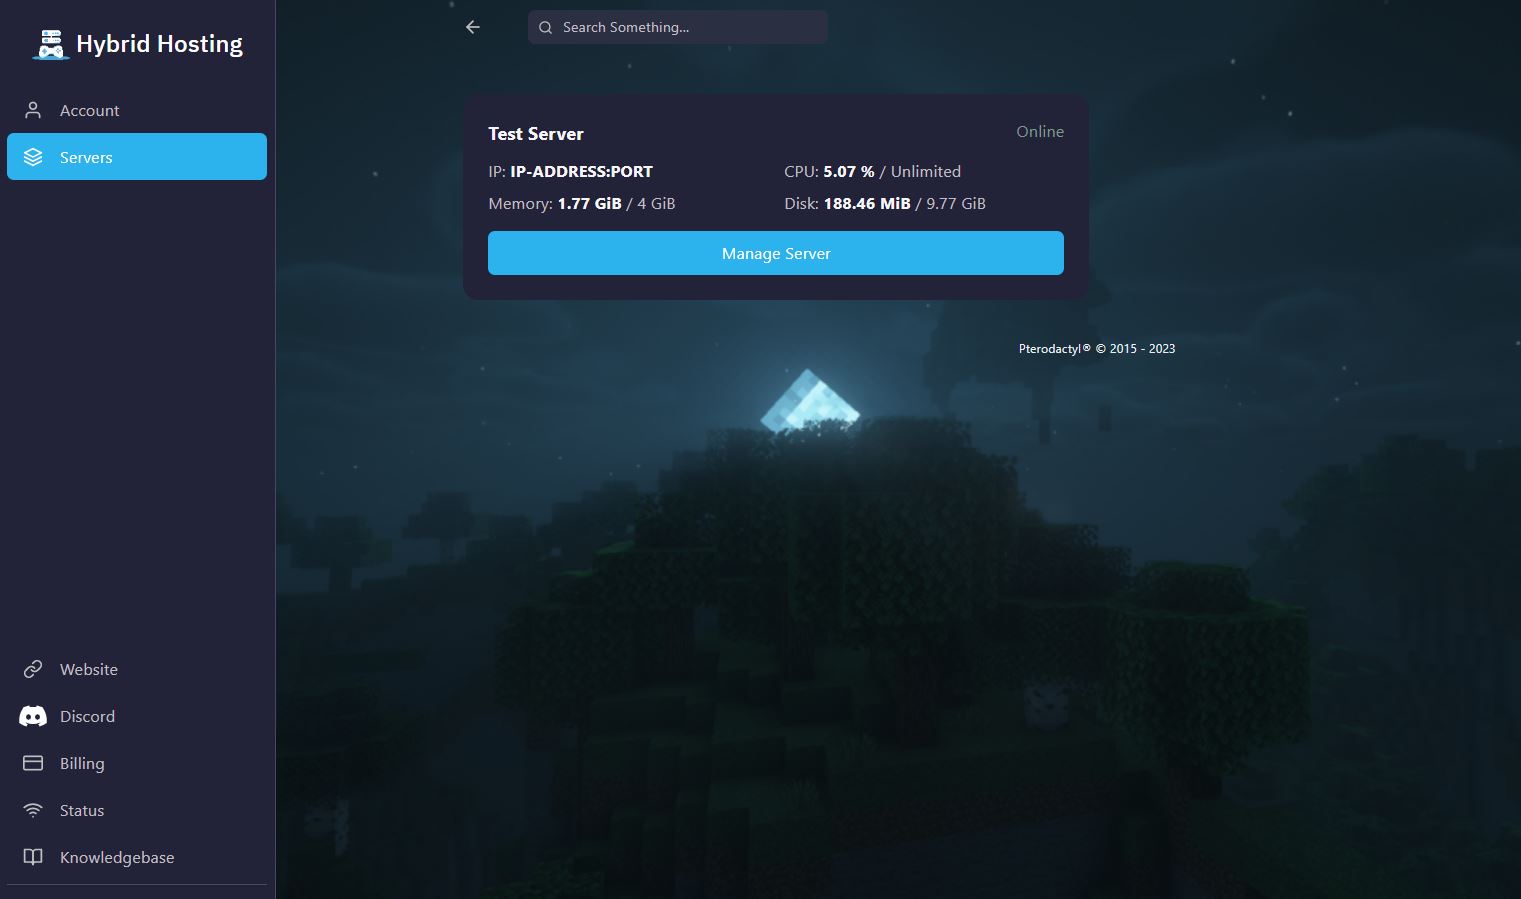
- Once you've signed in, click on the name of your server from the server list.
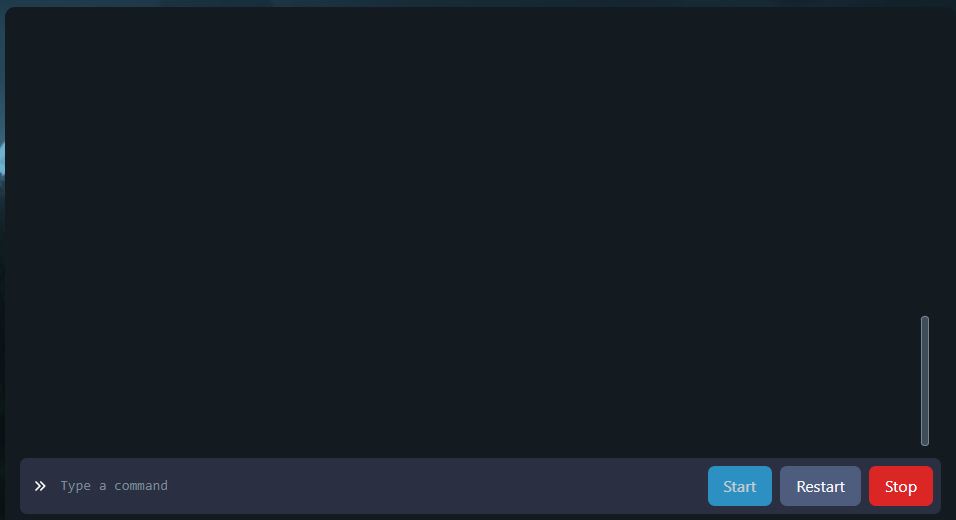
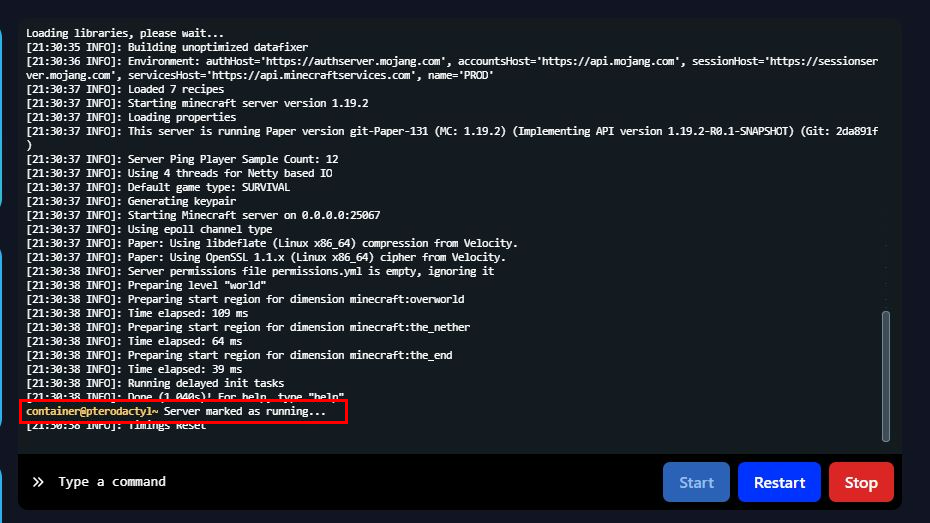
- Click the 'Start' button.
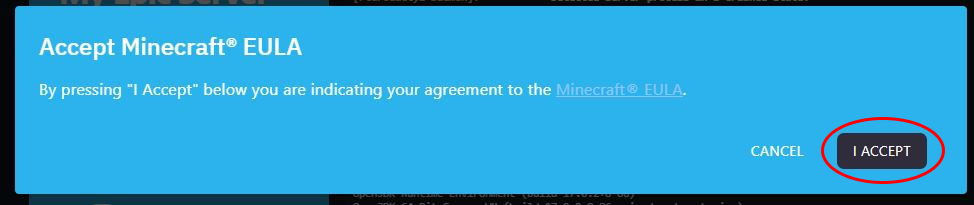
- Accept the Minecraft EULA that appears.
- Wait 5-15 seconds for your server to boot online.
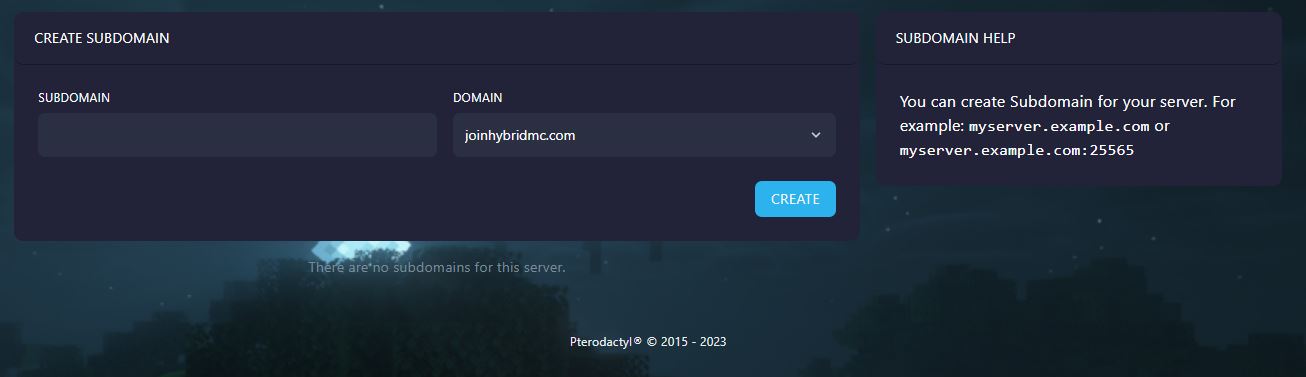
- To join your server, click 'Subdomain' at the top of your screen.

- Enter your desired subdomain and copy it.
- Open Minecraft, go to 'Multiplayer', add your server using the copied subdomain, and then click 'Join'.
Need Help?
If you encounter any issues or have questions, don't hesitate to join our Discord server and open a ticket. Our dedicated support team is here to help!
Products
Information
About Hybrid Hosting