How to Customize Your Minecraft Server Icon
A comprehensive guide on how to upload and set a custom icon for your Minecraft server using HyperPanel.

Introduction
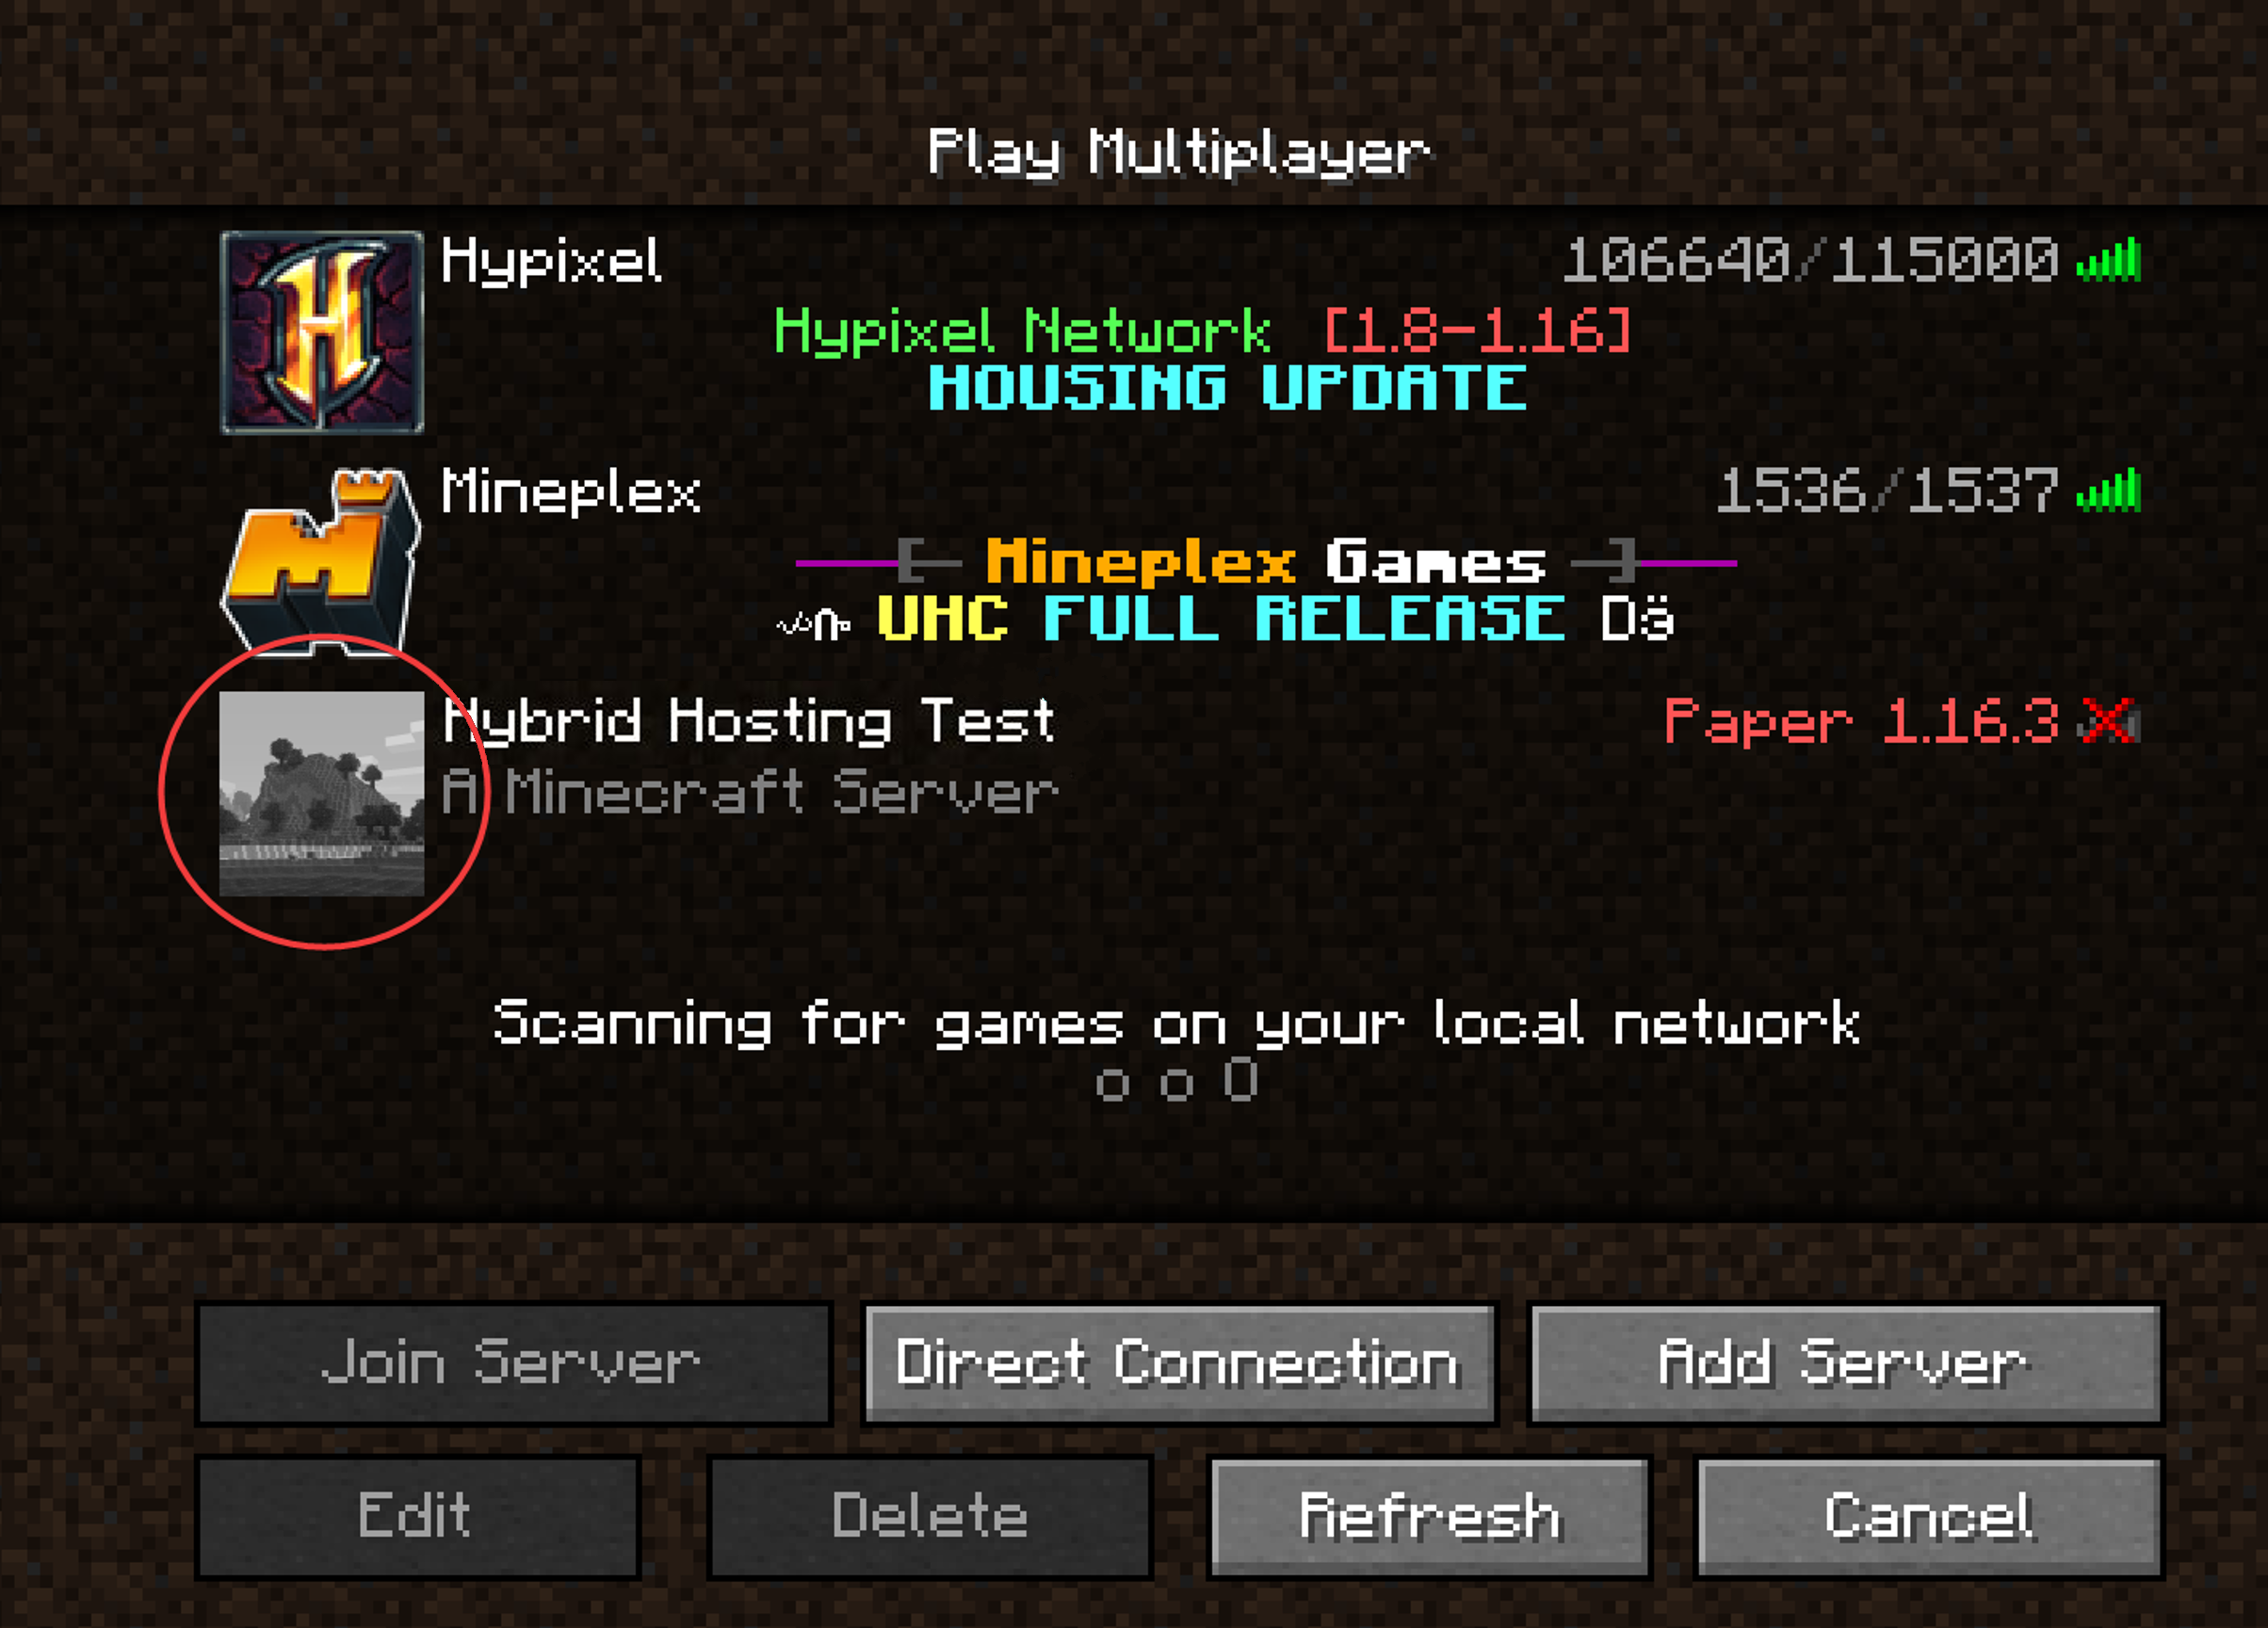
This guide walks you through the process of customizing the icon that appears next to your server's name on the Minecraft server list. By default, servers have a generic icon, but you can make yours stand out by following these steps.
Step 1: Choose an Image
Start by selecting an image that you wish to use as your server's icon. For this example, we're using the Hybrid Hosting logo. The image must meet the following specifications:
- Size: 64px x 64px
- File extension: .png
- File name: server-icon
Step 2: Verify Image Dimensions
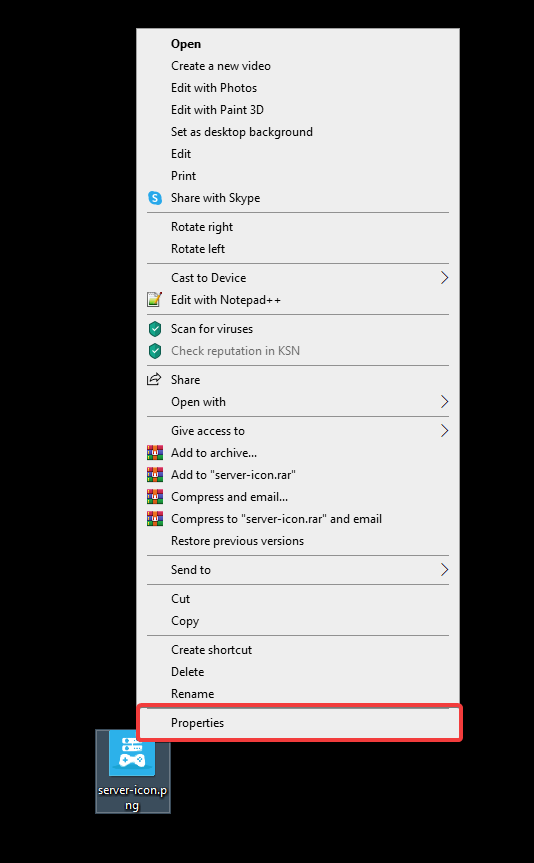
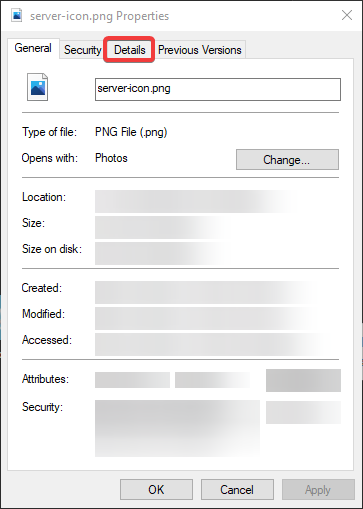
To confirm the image's dimensions, right-click on it and select 'Properties'. Navigate to the 'Details' tab where you should see the dimensions as '64 x 64'.
Step 3: Upload via HyperPanel
Go to HyperPanel and click on your server's name. Hover over it and select 'File Management'. Drag and drop your server-icon.png into the panel.
Step 4: Restart Your Server
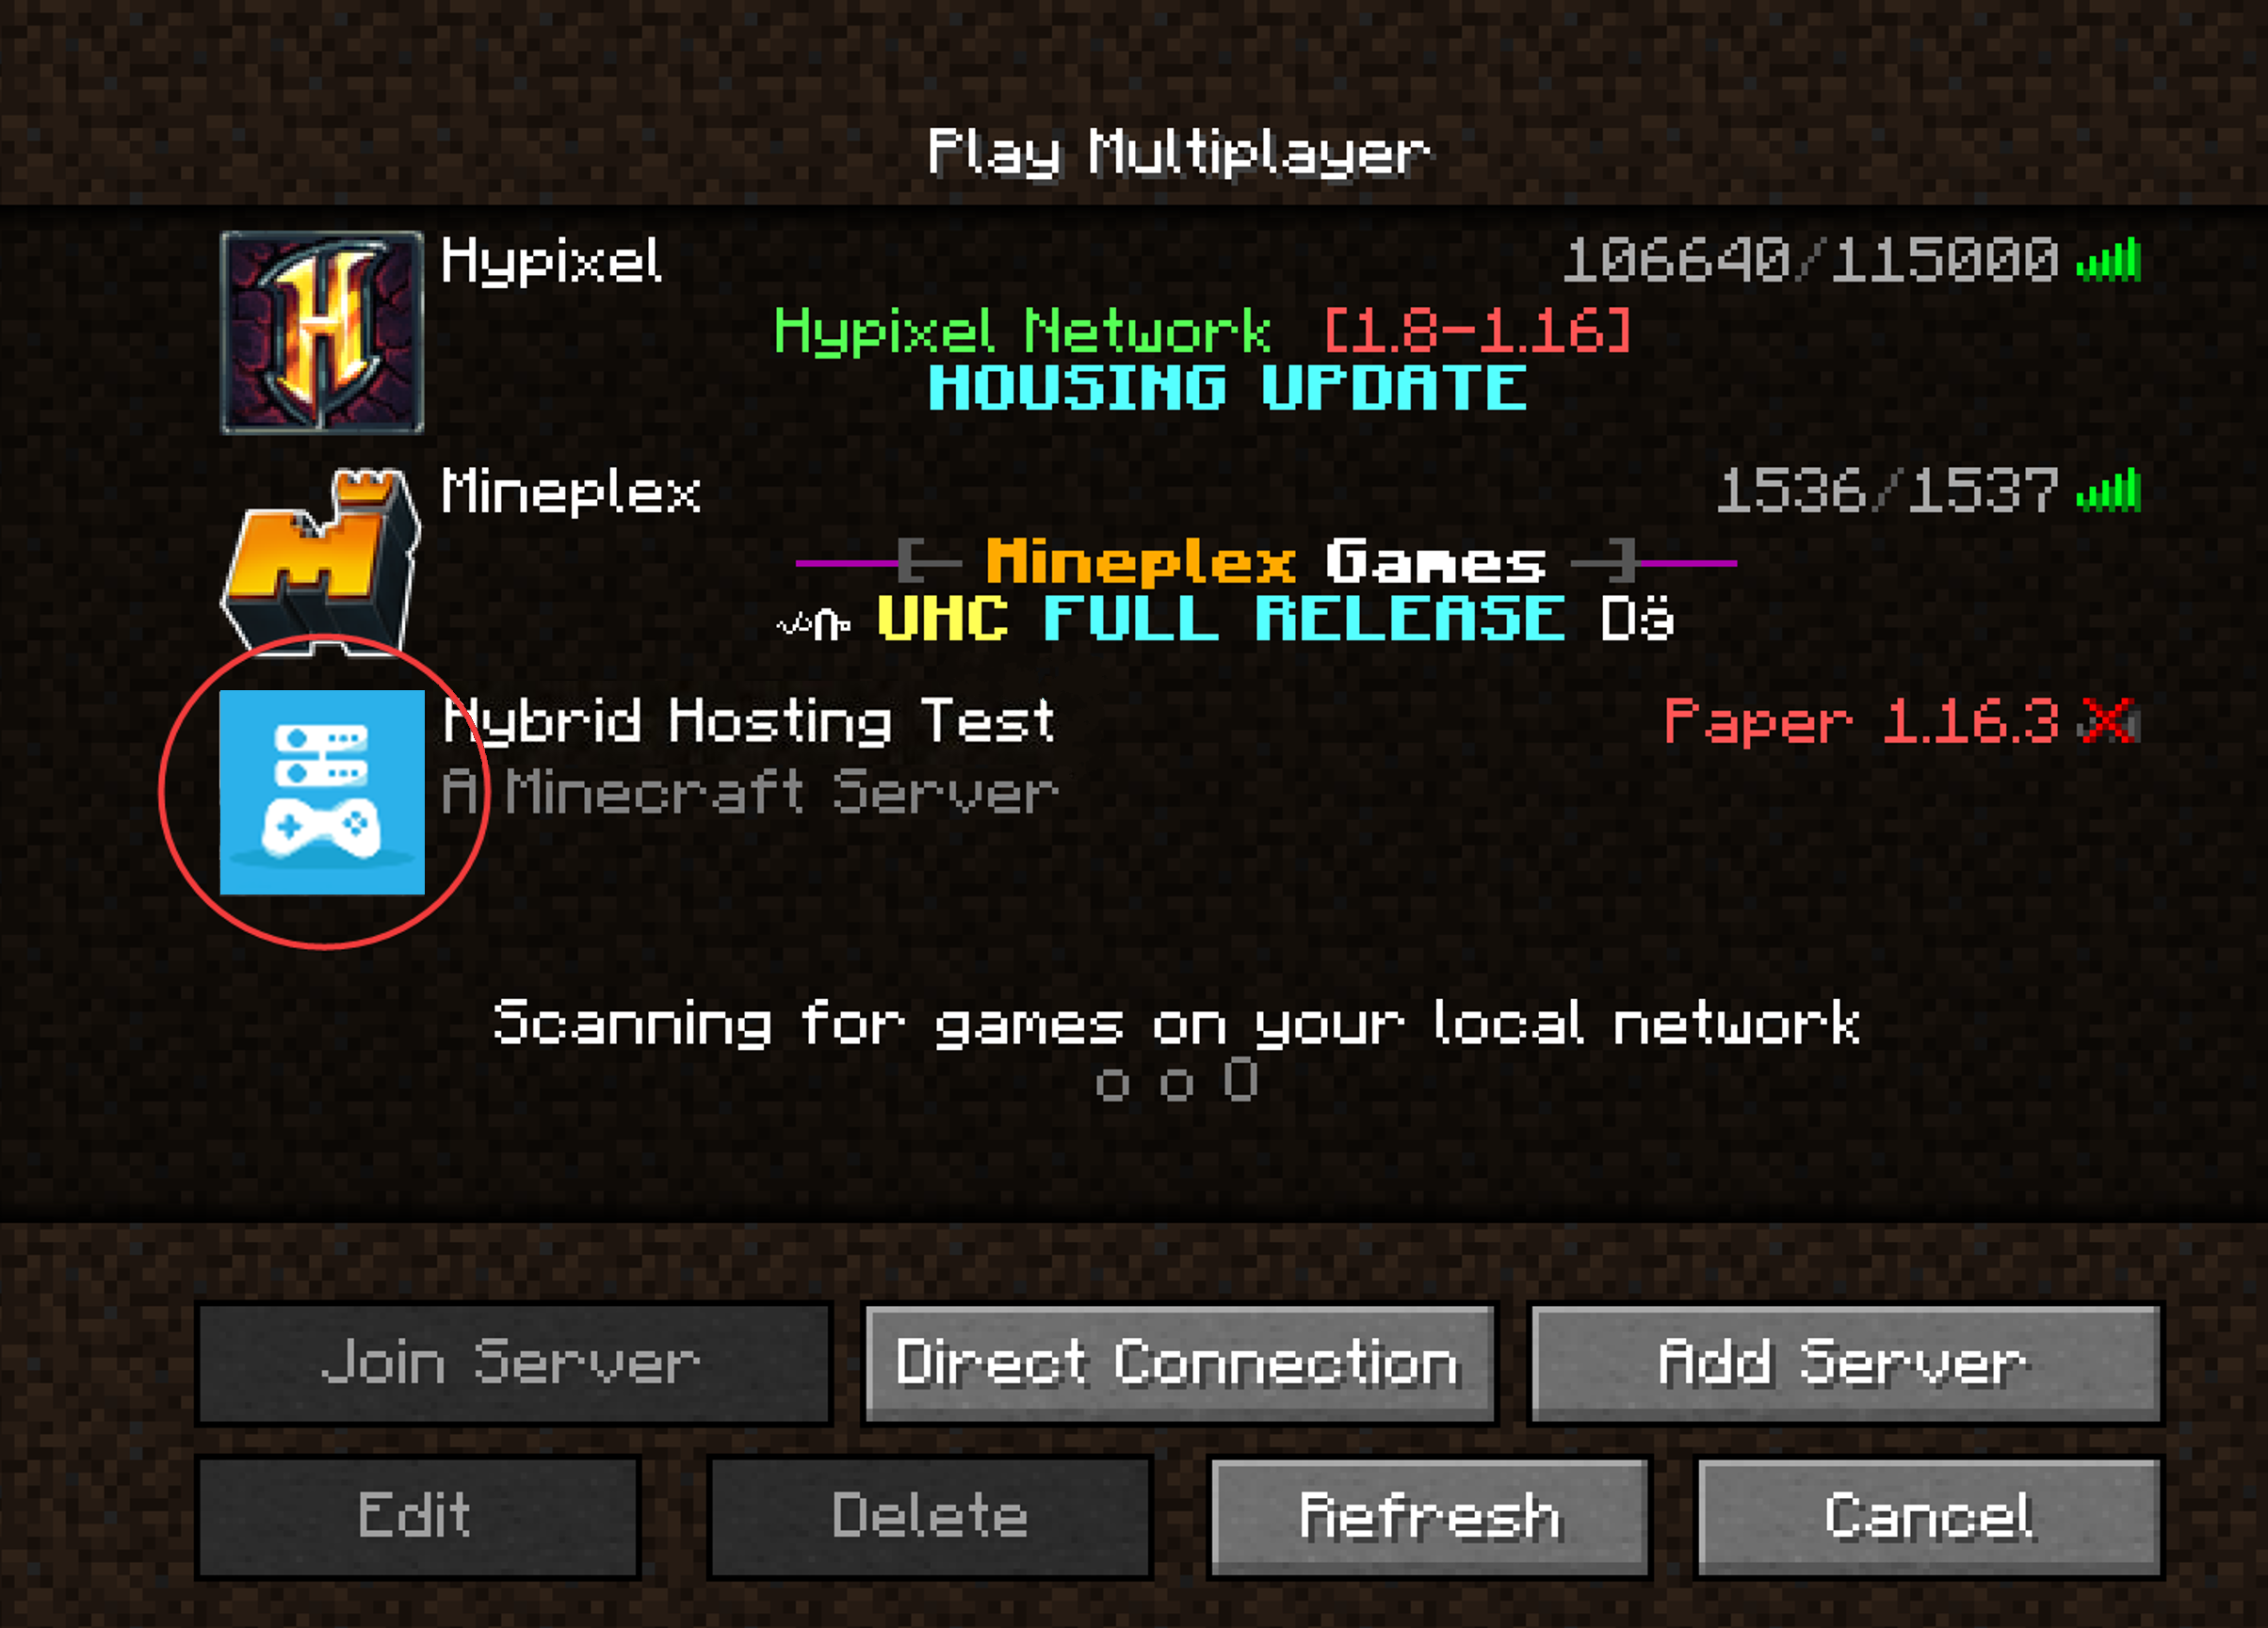
After uploading the icon, restart your server. Your custom icon should now be visible next to your server's name.
Troubleshooting and Support
If you encounter any issues or have questions, feel free to join the Hybrid Hosting Discord server and open a ticket. Our dedicated support staff will be glad to assist you.
Products
Information
About Hybrid Hosting